Are you looking to enhance the audio quality of your videos to captivate your audience and make a lasting impression?
In this comprehensive guide, we will explore the world of YouTube audio bitrate, uncovering tips and techniques to optimize your audio quality and create a mesmerizing auditory experience for your viewers.
So, let’s dive in and unlock the full potential of sound on YouTube!
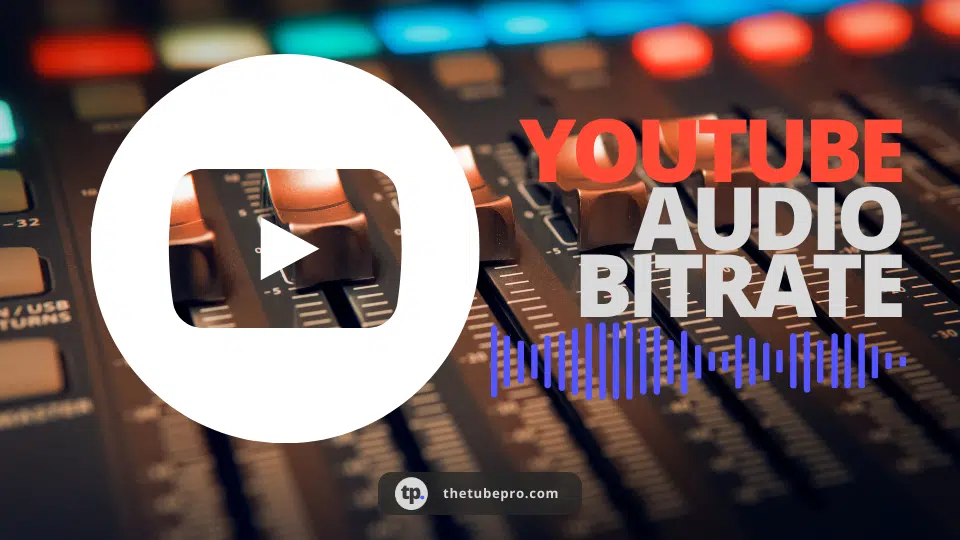
Understanding YouTube Audio Bitrate
When it comes to audio quality on YouTube, bitrate plays a crucial role. Bitrate refers to the amount of data used to represent sound per unit of time. In simpler terms, it determines the level of audio detail and clarity in your videos. YouTube offers various audio quality options, with the bitrate ranging from low to high.
- Low Quality: At the lower end of the spectrum, YouTube offers a bitrate of 48kbps AAC for audio playback. While this may be acceptable for certain situations, it is generally not recommended for optimal audio quality.
- Normal/Default Quality: The default audio quality on YouTube is set at 128kbps AAC. This provides a decent level of audio clarity and is suitable for most content creators.
- High Quality: For those seeking the pinnacle of audio excellence, YouTube offers a high-quality audio option with a bitrate of 256kbps AAC. This ensures a superior audio experience with enhanced depth and richness.
Elevating Your Sound Quality: Tips and Techniques
Now that we have a better understanding of YouTube audio bitrate, let’s explore some practical tips and techniques to improve the sound quality of your YouTube videos.
By implementing these strategies, you can create an immersive auditory experience that will captivate your audience from start to finish.
1. Invest in a Quality Microphone
One of the fundamental aspects of achieving exceptional audio quality is using a high-quality microphone. The right microphone can make a world of difference in capturing clear and crisp sound. Consider the following factors when selecting a microphone for your YouTube recordings:
- Power Supply Type: Microphones typically fall into two categories: condenser and dynamic. Condenser microphones require phantom power and offer exceptional sensitivity, resulting in a beautiful and detailed sound. On the other hand, dynamic microphones do not require additional power and are known for their durability and versatility.
- Directionality: Different microphones have varying directionality patterns, such as cardioid, omnidirectional, and bidirectional. Cardioid microphones are more sensitive to sound coming from the front, while omnidirectional microphones capture sound from all directions. Bidirectional microphones, as the name suggests, are equally sensitive to sound from the front and back.
If you are on a budget, a lavalier microphone can be a cost-effective option that still provides better sound quality than built-in camera microphones.
2. Minimize Tap Sounds and Background Noise
To ensure pristine audio quality, it is essential to minimize tap sounds and background noise during your recordings. These unwanted sounds can easily distract your viewers and diminish the overall audio experience. Follow these tips to minimize unwanted noises:
- Avoid Tongue Clicks: Be mindful of tongue clicks and other mouth noises while speaking. These sounds can disrupt the clarity of your audio. Maintain good microphone technique and practice enunciating your words clearly.
- Isolate the Recording Device: If you are using a condenser microphone, be cautious not to touch or bump the recording device. Condenser microphones are highly sensitive to vibrations, which can compromise the sound quality. Consider using a shock mount to suspend the microphone and minimize vibrations.
- Choose a Quiet Recording Environment: Select a quiet space for your recordings to minimize background noise. If your recording environment has excessive echo or reverberation, consider using soft furnishings like carpets, curtains, or specialized foam panels to dampen the sound.
3. Master the Art of Vocal Projection
Speaking clearly and projecting your voice effectively is crucial for optimal audio quality. Regardless of the type of microphone you use, follow these tips to ensure your voice is captured with clarity and impact:
- Breathing Techniques: Practice deep diaphragmatic breathing to support a steady and powerful voice. This enables you to project your voice effectively and maintain consistent audio quality throughout your recordings.
- Posture Matters: Maintain good posture while recording, whether standing or sitting. Proper posture opens up your diaphragm, allowing for clearer and more resonant vocal delivery.
- Vocal Warm-Ups: Just like athletes warm up before a game, your vocal cords also benefit from warm-up exercises. Humming, lip trills, and scales can help prepare your voice for optimal performance.
4. Optimize Microphone Placement for Clear Audio Capture
The placement of your microphone plays a crucial role in capturing clear and balanced audio. Follow these guidelines to optimize microphone placement:
- Proximity to the Subject: Position your microphone approximately a hand’s length away from your mouth to capture the clearest sound. This proximity ensures that your voice remains prominent and intelligible in the recording.
- Avoid Tabletop Placement: When placing microphones on tabletops, be cautious of the surface vibrations that can affect the sound quality. Consider using a shock mount or a microphone stand to minimize these vibrations.
- Address Room Acoustics: If you are recording in a room with poor acoustics, take steps to address the issue. Adding soft furnishings, such as carpets or curtains, can help absorb reflections and improve sound clarity.
5. Silence Your Surroundings for a Clean Recording
To achieve a clean recording, it is essential to create a quiet and controlled environment. Consider the following tips to minimize unwanted background noise:
- Turn Off Gadgets: Power off or mute any electronic devices in your recording space to eliminate the risk of random beeps or alerts interrupting your audio.
- Choose the Right Time: Record during periods of minimal external noise, such as early mornings or late evenings, to reduce potential disturbances.
- Close Doors and Windows: Simple yet effective, closing doors and windows can significantly reduce external noise and create a more controlled recording environment.
6. Embrace Post-Production Noise Reduction
Even with meticulous recording techniques, some level of background noise may still find its way into your audio. In such cases, post-production noise reduction techniques can be employed to enhance the overall sound quality. Consider the following steps:
- Use Noise Reduction Tools: Utilize noise reduction tools available in audio editing software to eliminate unwanted background noise. Adaptive Noise Reduction and Noise Print Capture are common methods used to clean up audio in post-production.
- Fine-Tune Your Sound: After applying noise reduction, fine-tune your audio using equalization, compression, and de-essing techniques to enhance clarity and balance. Experiment with different settings and presets to achieve the desired sound.
- Multiple Device Testing: To ensure consistency across various devices, listen to your edited audio on different platforms, such as headphones, speakers, and mobile phones. This allows you to gauge how your audience may experience the audio on different devices.
By implementing these tips and techniques, you can take your YouTube audio quality to new heights, providing your viewers with an immersive and captivating auditory experience. Remember, the audio quality of your videos can greatly impact viewer engagement and the overall success of your channel.
So, invest in the right equipment, master your microphone technique, and embrace the power of post-production editing to unlock the full potential of sound on YouTube.
Making the Most of YouTube Audio Bitrate
While optimizing your audio quality is essential, it is also important to understand the role of YouTube audio bitrate in delivering the best audio experience to your viewers.
YouTube offers different audio quality options, each with its corresponding bitrate. Let’s explore the significance of audio bitrate and how it affects your audio quality on YouTube.
YouTube Audio Bitrate Explained
Audio bitrate refers to the amount of data used to represent sound per unit of time. In other words, it determines the level of detail and fidelity in your audio. YouTube provides various audio quality options, each with its corresponding bitrate. Let’s take a closer look at these options:
- Low Quality: YouTube offers a low-quality audio option with a bitrate of 48kbps AAC. While this bitrate may be suitable for certain situations, it is generally not recommended for optimal audio quality.
- Normal/Default Quality: The default audio quality on YouTube is set at 128kbps AAC. This provides a decent level of audio clarity and is suitable for most content creators.
- High Quality: For those seeking the highest level of audio excellence, YouTube offers a high-quality audio option with a bitrate of 256kbps AAC. This ensures a superior audio experience with enhanced depth and richness.
Choosing the Best YouTube Audio Bitrate
When selecting the appropriate audio bitrate for your YouTube videos, it is crucial to consider the overall quality of your audio content and the preferences of your target audience.
While higher bitrates generally result in better audio quality, they also come with larger file sizes. This can affect the streaming experience for viewers with limited internet bandwidth. Therefore, striking the right balance between audio quality and file size is essential.
For most content creators, the default audio quality of 128kbps AAC is a reasonable choice. This provides a good balance between audio clarity and file size, ensuring a smooth streaming experience for your viewers.
However, if you prioritize audio excellence and have the capacity to handle larger file sizes, opting for the high-quality audio option with a bitrate of 256kbps AAC can elevate your audio to new heights.
Ultimately, the choice of YouTube audio bitrate should align with your content goals, target audience, and the overall production quality of your videos. Experimenting with different options and gathering feedback from your viewers can help you determine the optimal audio bitrate for your specific needs.
The Future of YouTube Audio Bitrate
As technology continues to evolve, it is important to stay informed about the future trends and advancements in YouTube audio bitrate. YouTube is constantly working towards enhancing the audio quality of its platform and providing creators with more options to deliver exceptional sound experiences.
One emerging trend is the adoption of higher audio bitrates, enabling creators to deliver even more immersive and high-fidelity audio to their viewers. As internet bandwidth and streaming capabilities continue to improve, higher bitrate options may become more prevalent, offering content creators an opportunity to showcase their audio content with unparalleled clarity and detail.
Additionally, advancements in audio codecs and streaming technologies may further enhance the audio quality on YouTube. Newer codecs, such as Opus, are designed to provide superior audio performance at lower bitrates, optimizing both quality and file size.
These innovations will open up new possibilities for creators to deliver high-quality audio experiences while minimizing streaming bandwidth requirements.
In conclusion, YouTube audio bitrate plays a vital role in determining the quality of audio in your videos. By understanding the different audio quality options and implementing the tips and techniques outlined in this guide, you can elevate your audio quality and create captivating content that resonates with your audience. As technology continues to evolve, embracing the future advancements in YouTube audio bitrate will allow you to stay at the forefront of audio excellence and deliver exceptional sound experiences to your viewers. So, unleash the potential of sound on YouTube and embark on a journey of audio innovation and creativity.